-
Software
-
CAM software
- Tebis Automill
- CNC programming
- CNC automation
- CNC simulator
- Multiple setup
- Robotic machining
- CNC drilling
- Deep-hole drilling
- Combined turn-milling
- CNC turning
- Turn-milling
- 2.5D milling
- 3D milling
- 5-axis milling
- Slot milling
- Trimming
- HPC milling
- HFC milling
- Circle-segment cutters
- Sinker EDM
- Wire EDM
- 3D laser cutting
- Laser hardening
- Laser weld cladding
- CAD software
- CAQ software
- MES software
- Products
-
CAM software
- Services
- Consulting
- Sectors
- References
- Company
- News

-

Measurement in the manufacturing process
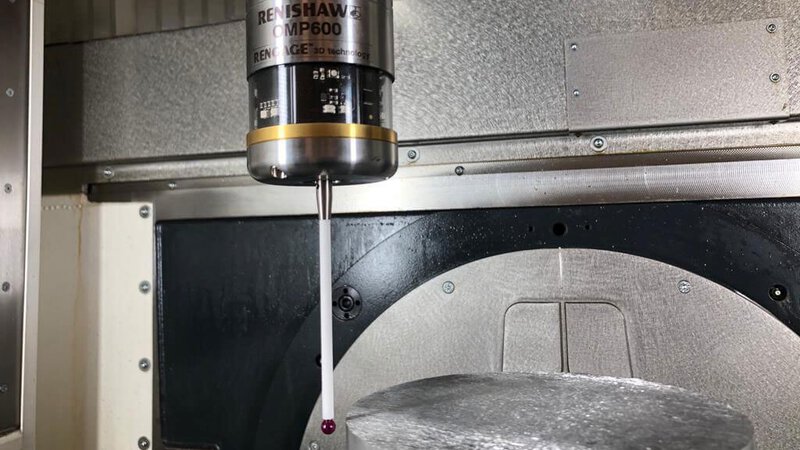
Your machining centers help make your processes safer and more efficient. Integrate measurement tasks in your manufacturing processes and prevent quality issues, the need for reworking or even damage to your machinery.
Results show: Over 70% of companies experience errors like incorrectly clamped blanks that are not detected until during machining or parts that have been unclamped even though machining was still incomplete.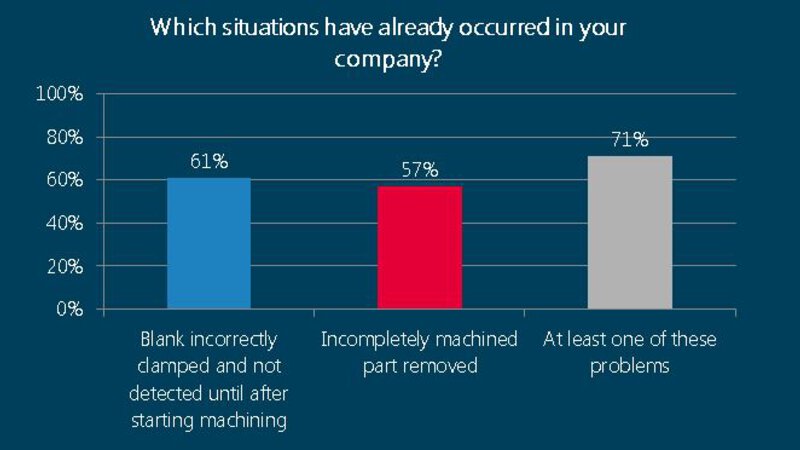
What you can achieve:
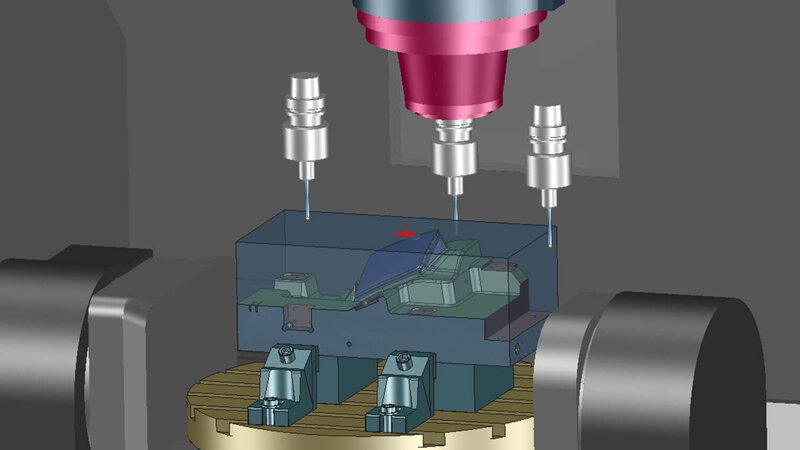
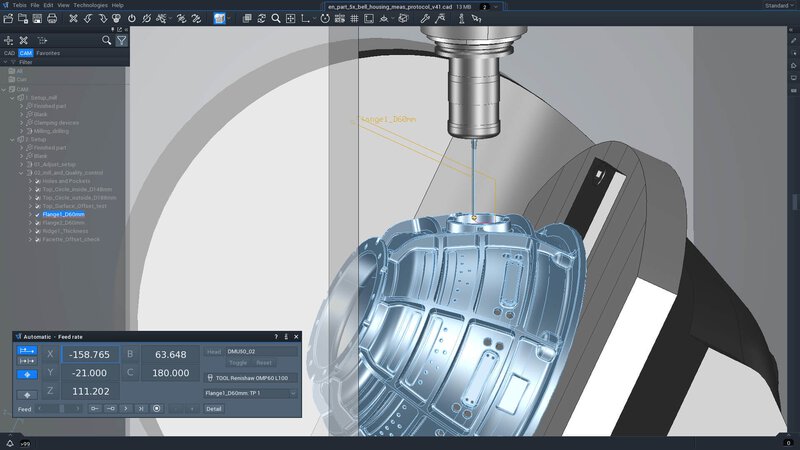
Prepare measuring cycles in the Job Manager quickly and easily, and integrate them in the complete NC program. Because you prepare the measurement tasks in the CAD/CAM environment with the digital twins of the workpieces, clamping devices, machine etc., they are also collision-checked. As a result, many daily tasks can be performed on the machine with no further effort.
The right blank
Before starting the machining operation, you can automatically check the size and orientation of the blank. The machining operation can be interrupted if the blank is outside the desired tolerance. This also ensures safety for unattended operation of your machines.
Tested quality
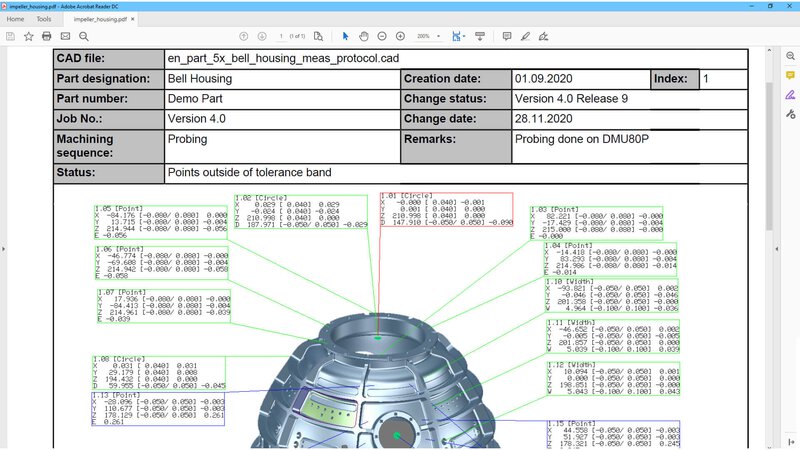
Automatically check the dimensional accuracy of the part after machining. This allows for any necessary reworking to be done before unclamping the part. This reduces effort, improves quality and enables quality documentation.
You can benefit from these advantages and possibilities of your Tebis installation that are available for most probes and controls, even those that do not offer their own measuring cycles.
Ask your personal Customer Service Representative.
 View video / contact formPlease select the Preference cookies to activate the display.Activate cookiesStay up to date.

